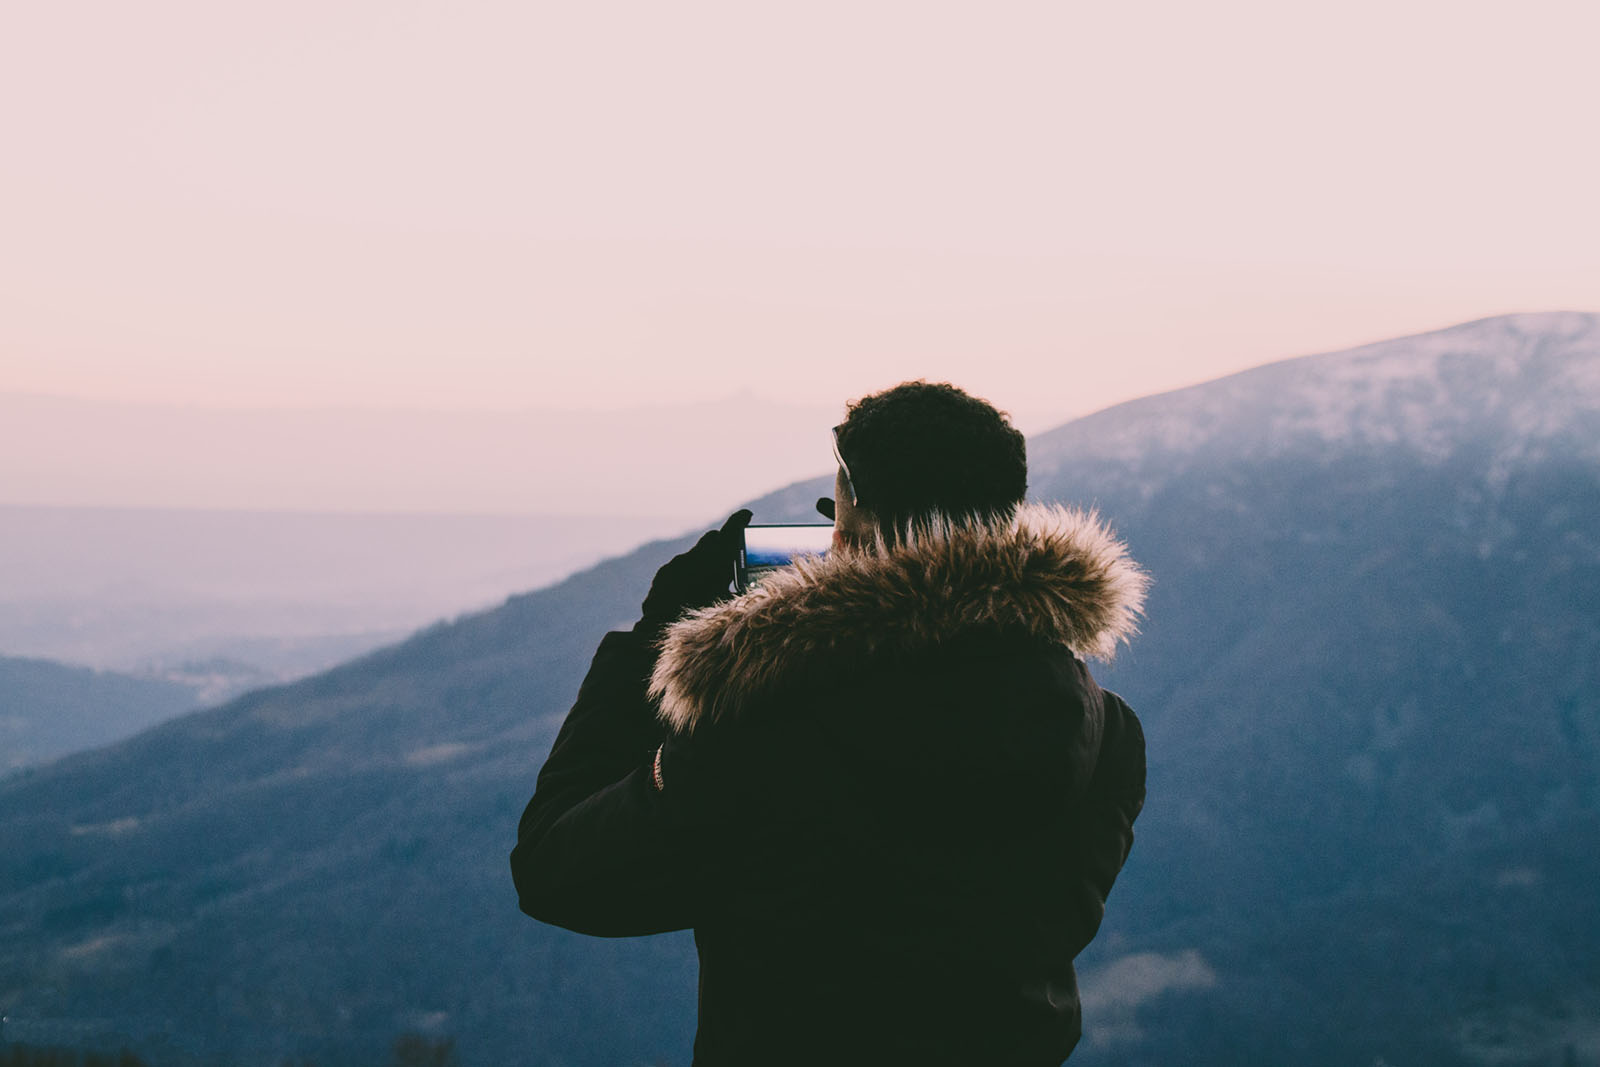
The Best Advice On Using A Smartphone Camera For Photography
Today, most of us own a smartphone. And today many of us also like to dip our toe into amateur photography, without lugging around a heavy DSLR camera kit. With the rapid advances in technology that I have witnessed in my career, it blows my mind to now say that there’s not much difference between a DSLR camera and a sophisticated smartphone camera when it comes to producing quality pictures. That is, if you know how to use your tools properly.
ALL THE GEAR, BUT NO IDEA?
If you’re interested in pursuing professional photography, I would never recommend running out to buy the latest, expensive gear. I’d tell you to first get your head around the basics of the art form itself. Why? One thing I know for sure is that great photography does not rely on having the best camera. You can take advantage of this. To start practising photography and taking quality images today, all you need is a smartphone camera, fully-charged, with enough storage to capture a range of shots of your chosen subject.
If you want to be an amateur photographer (with an aim of becoming a professional), then I suggest you start with your smartphone. That tool right there in your pocket. There are specific techniques, apps, lighting and composition decisions you can make to optimise your phone’s existing camera.
As I’m an advocate of sharing knowledge – here’s a free snapshot of the basics of using your smartphone (Android or Apple) for photography:
PLAY AROUND
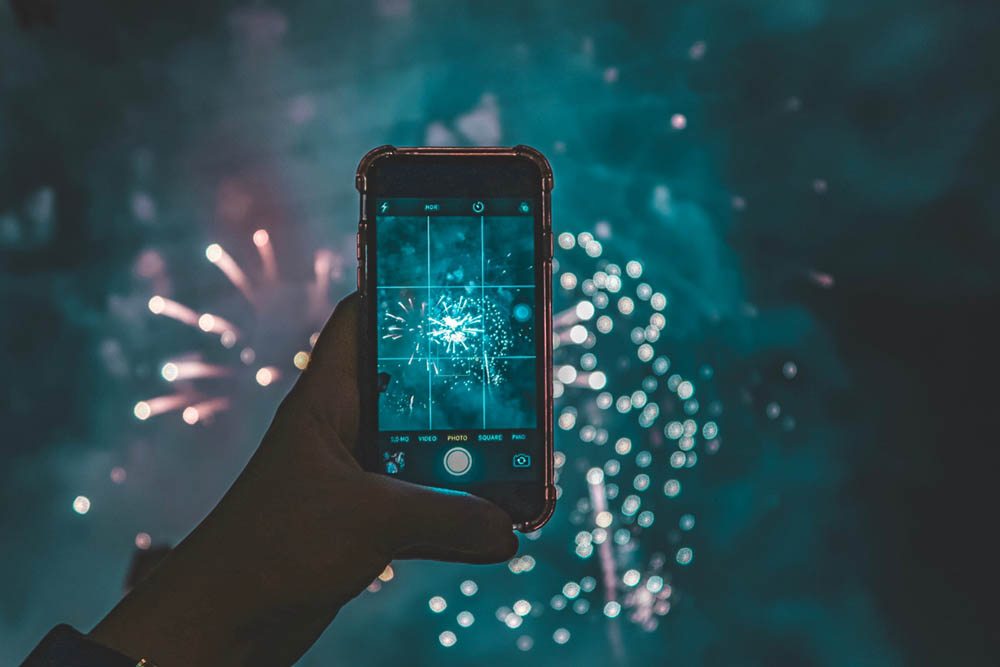
Create a habit of using your camera regularly to take photographs. Of anything. The morning light flooding into your kitchen. The miserable girl on the bus. Your mum. Your dog! At this initial stage, your choice of subject is secondary to the importance of simply building a habit of using your smartphone camera when inspiration strikes. This will grow familiarity with your device, including how it reacts to bright light or low light, its sensitivity to movement, plus the various modes it has. You will even get used to its expected battery life and know to pack a portable charger for long shoots (you should probably do this as a rule anyway).
Nothing forms a habit quicker than repetition, and in this case you are adapting your creative eye to using your mobile device for photography.
AUDIT YOUR CURRENT CAMERA
Of course, your smartphone already has a default camera app installed on it. But how good is it? You can hopefully answer this after following the previous step, and having a play around with its general functionality. If you decide you’re not impressed with the quality of your phone’s current camera app – find a new one! Many of us don’t even consider this as an option, but it’s totally within your control to hop online and download a better app. If you’re trying to take smartphone photography seriously, not having a decent camera app may be selling your skills short! I recommend trying a camera app with plenty of control over the settings – browse your mobile’s app store to see what your options are within your budget.
When searching for a new camera app, check if it offers features such as:
- Can I enable or disable the flash?
- Can I shoot in HDR?
- Can I set a timer?
- Can I do basic in-app editing quickly and easily?
- Can I enable gridlines to help get the horizon aligned perfectly?
GET SNAP APPY
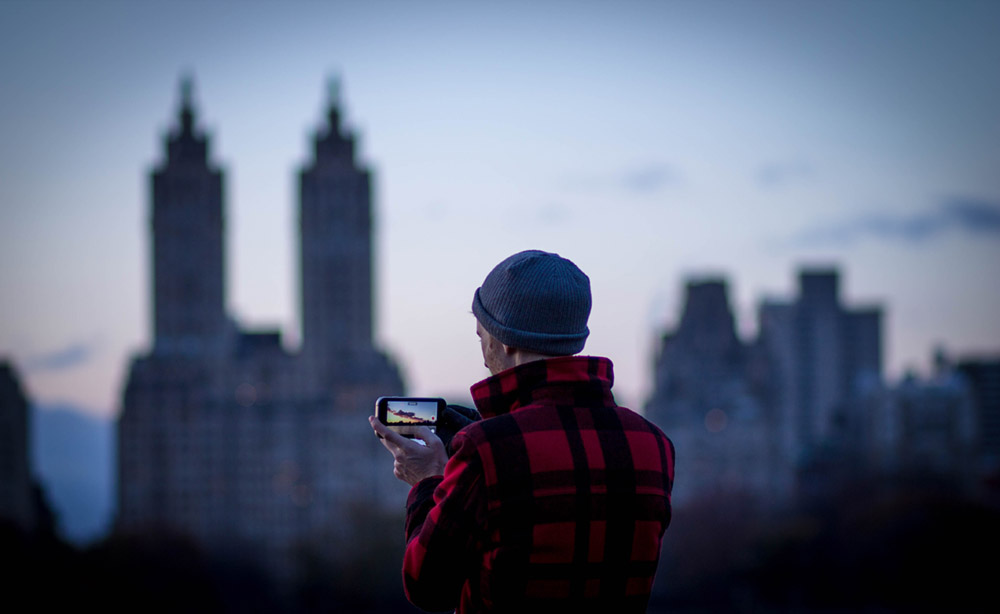
From my experience as a landscape photographer, I suggest trying out any of the following apps to boost your smartphone photography:
Accu Weather – for weather forecasts
My Aurora Forecast – solar storm forecasting
Snapseed – for digital editing
Pocket Light Meter – what it says on the tin
Posing App – posing tool
The Photographer’s Ephemeris
Photography 101 – educational to beginner level
Photo Academy – educational to intermediate level
CLUE UP ON COMPOSITION
Guess what – whether you use a DSLR or smartphone device, you can’t sidestep the creative decision making process. You still need to learn how to take good photos! To make the right decisions for what elements to include in a photo, you need to do some light research on what it takes to make a “good photo”. This includes balancing the composition, number and location of items in your image, plus positioning the frame.
EMBRACE YOUR LIMITATIONS
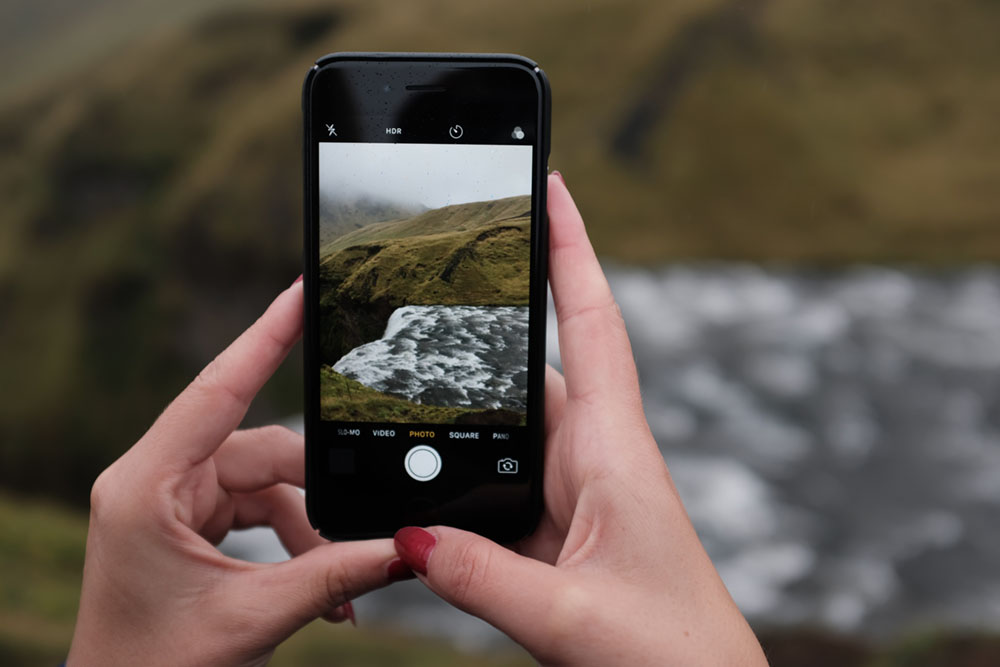
Some older phones probably won’t handle movement very well. Others will struggle to capture in low light. My phone does both these things – but I embrace it. Anything moving faster than a glacier appears blurred, especially in low-light conditions. This is because my phone adjusts to low light by setting a slower shutter speed. Not much I can do about it, so it must be accepted! I suggest you take the same approach. Some of my blurry smartphone photos may look odd, while others turn out really cool. What matters – and what is the point of photography – is to capture the dynamism of the moment.
WATCH AND LEARN
There is a wealth of online resources, videos and tutorials geared to teaching you how to use a smartphone camera creatively. There are also physical workshops and classes you can attend, such as my Smartphone Photography Workshop. The best smartphone photography lessons will include advice on light and composition, plus tips on how to transfer your digital images to professional prints.
Once you have got a handle on how to use your pocket camera to take professional quality photos, there are so many directions you can take things… Food photography. Wildlife photography. Portrait photography. These are subjects that appear in your everyday life, so once you’re equipped with a camera there is nothing stopping you from entering the world of photography.


